A trial is only worth anything if you set the system up the way your hospital actually runs. Clicking through someone else's demo data tells you the software has screens. Registering your own patient, prescribing from your own stock and printing your own bill tells you whether it fits.
This is what the first morning looks like.
Signing up
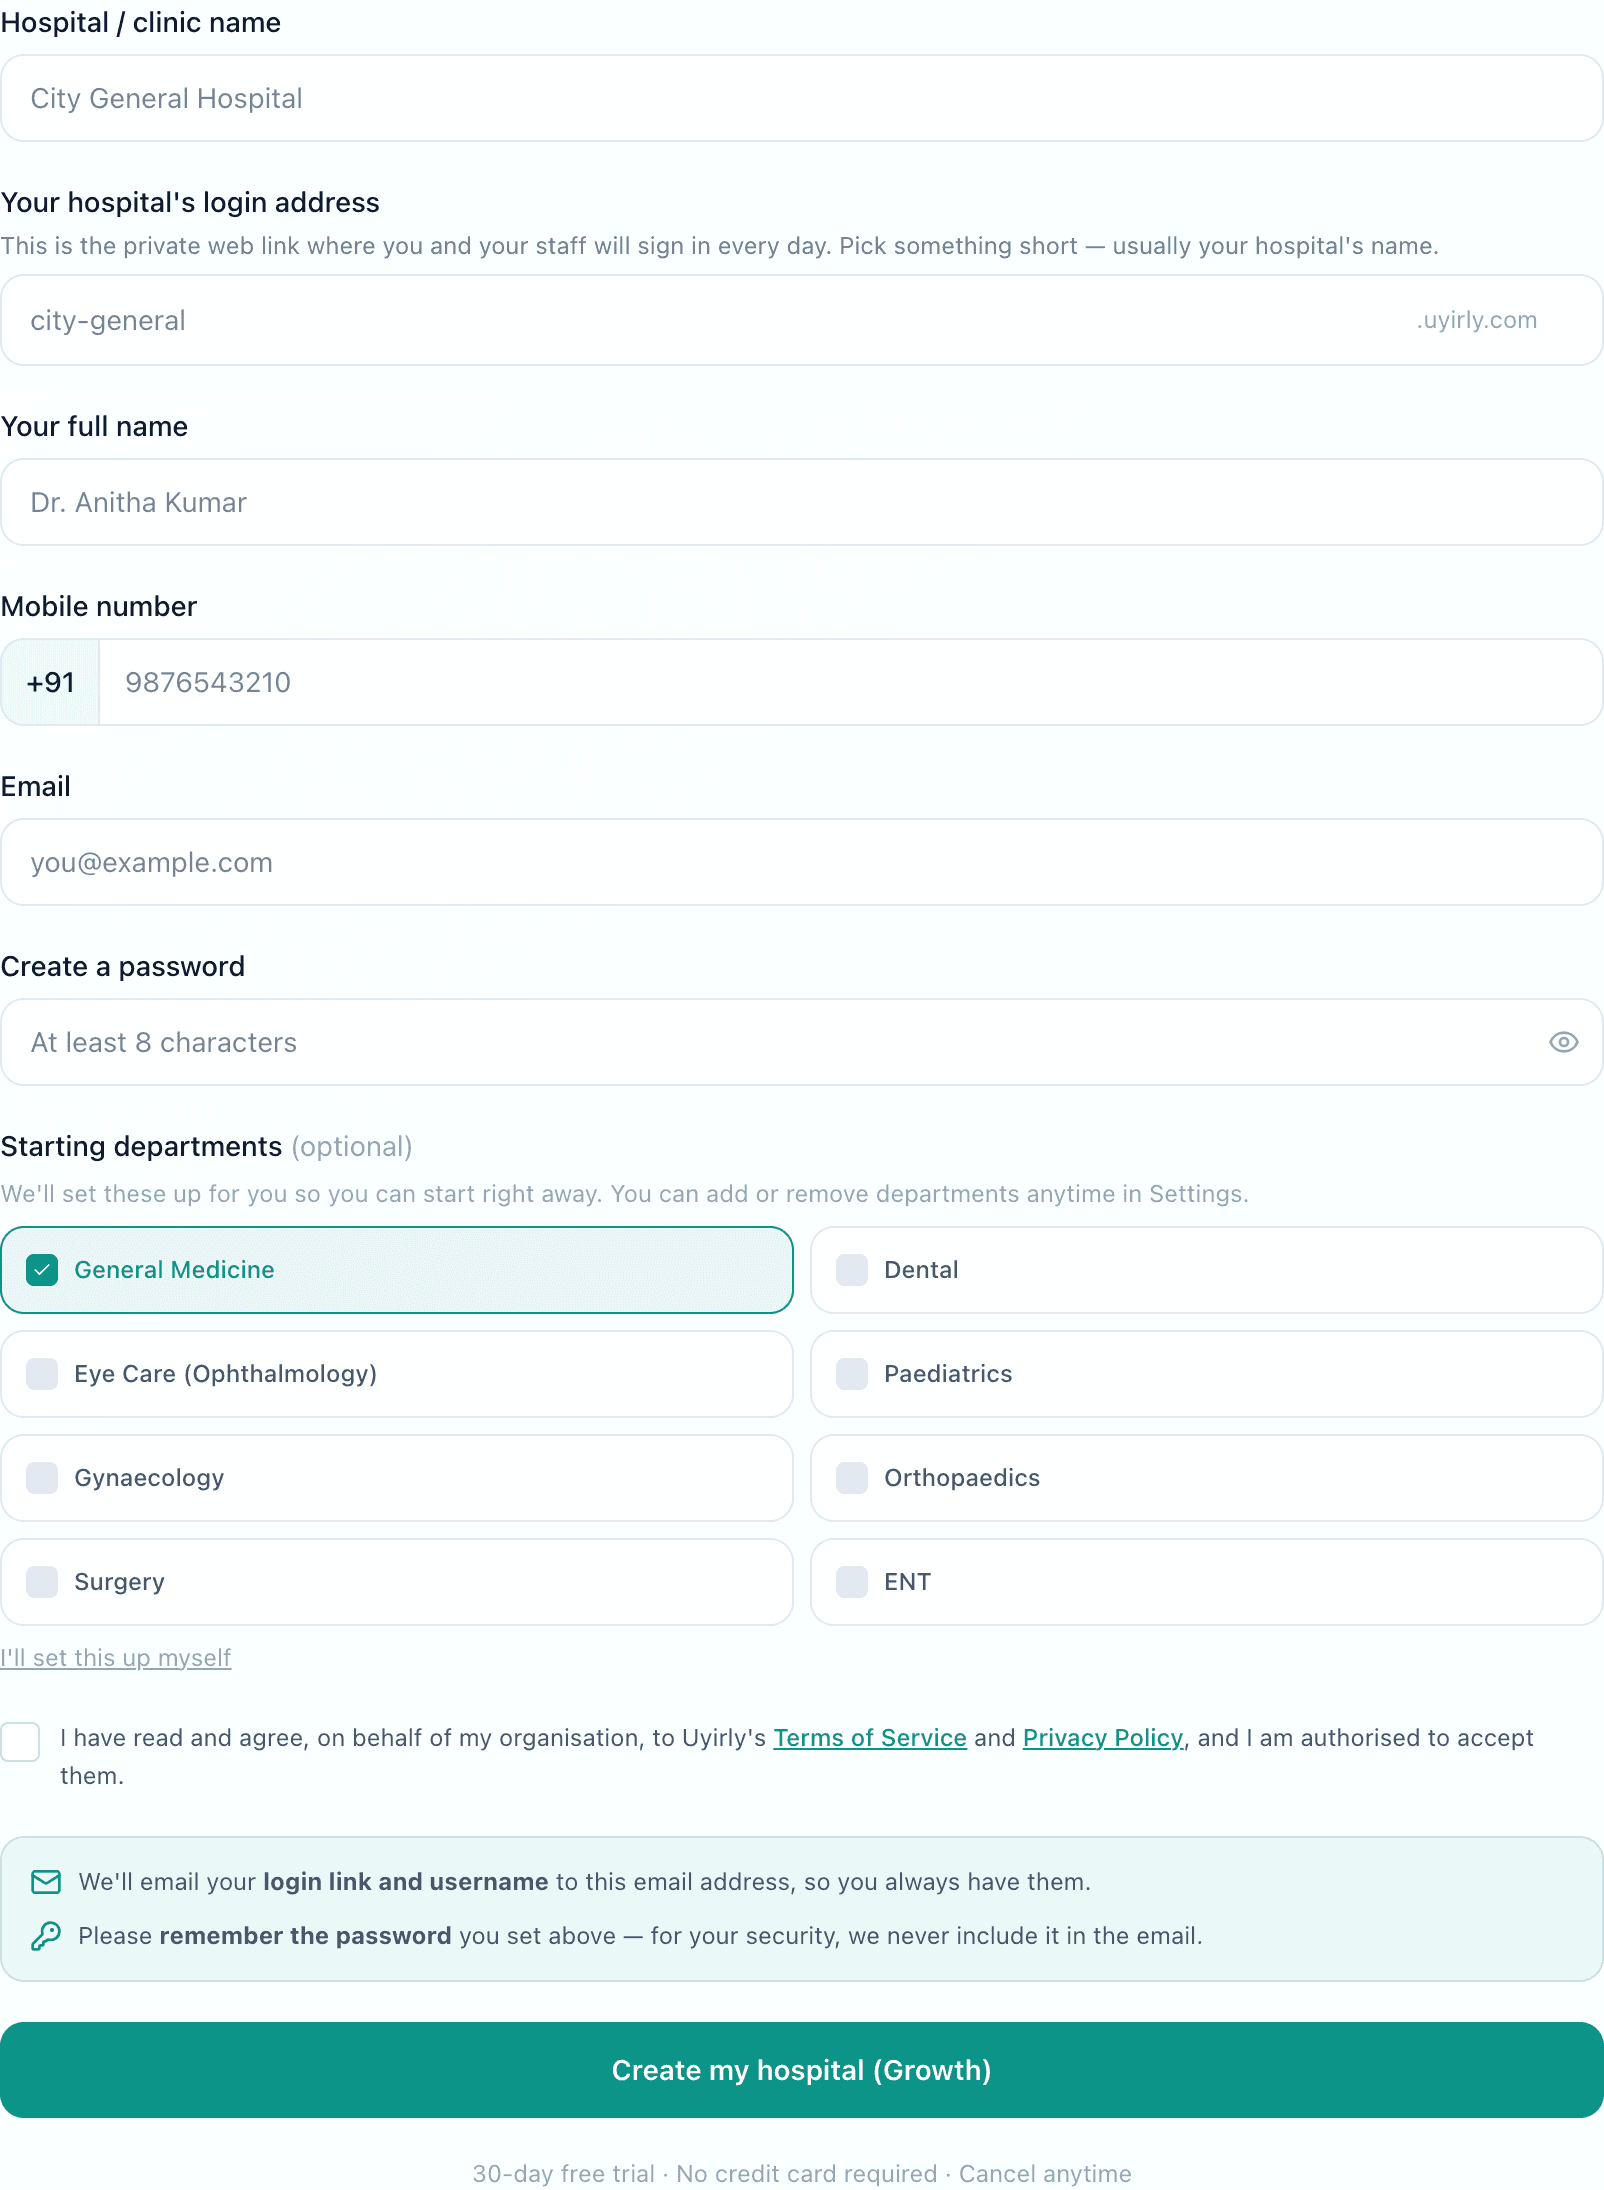
Two fields on this page are worth slowing down for.
- The login address.This becomes your hospital's own web address, the one every member of staff types every morning. Short is better than complete — your hospital's name, not its full legal title.
- The starting departments. These are not labels. The department a doctor belongs to decides which clinical form opens for their consultations: choose Paediatrics and those doctors get growth charts and immunisation schedules; choose Gynaecology and they get the antenatal record and the labour ward. Getting this right at signup saves discovering, a month later, that your paediatrician has been typing weights into a general notes box.
You can change both later, but one is cheaper than the other
The setup checklist
Once you are in, a Getting started page tracks what is still outstanding. It is not a tour — each item checks the database and ticks itself when the thing is actually there, and the list only shows the steps that apply to the modules you turned on.
What the checklist asks for
Profile & code
What prints on bills
Your team
Logins and roles
Catalogues
Tests, scans, medicines
Rates & wards
Before the first bill
First patient
The whole flow, once
- Hospital profile — logo, address and contact details, because these are what appear on every bill, prescription and report you print.
- Hospital code — the short prefix on patient IDs and bill numbers. Set it before you register anyone.
- Your team — adding a person creates their login, and their role decides what they can see. See staff and attendance.
- Doctor OPD hours— each doctor's weekly sessions, which the patient app books against.
- Lab and radiology catalogues — the tests and scans you offer, with sample types, prices and reference ranges. Ranges are what make a result flag itself as abnormal later.
- Pharmacy stock — your medicines and opening stock, so you can dispense and bill rather than typing names in free text.
- Wards and beds — if you admit patients.
- Billing rates — consultation and procedure charges, before the first bill rather than after it.
- Your first patient — the point of the whole exercise.
The test that matters
Run one patient end to end, and have the people who will actually do each step do it. Not the owner clicking through everything alone — a receptionist registering the walk-in, a nurse recording vitals, the doctor prescribing, the pharmacy dispensing, the cashier taking the money.
What you are checking is not whether each screen works. It is whether the prescription reached the pharmacy without being retyped, whether the consultation fee and the medicines landed on one bill, and whether the nurse could record vitals without being able to write the consultation. Those joins are where hospital software is actually decided, and they are invisible until someone walks a patient through them.
Our buyer's checklist covers what else to evaluate during a trial.
Then go live gradually
Nobody should move a whole hospital in one night. Start with the department that hurts most — usually OPD and the pharmacy — and add the rest as each one settles. If you are coming off paper registers rather than another system, our guide to switching from spreadsheets covers a phased rollout that does not disrupt patient care, and the digitisation workflow guide sets out the order.
Getting started
Start a 30-day free trial — no credit card, and your hospital gets its own private workspace from the first minute. After the trial it is flat monthly pricing; see pricing.